Tuesday, March 29, 2011

Sumarið er tíminn !!!!!!

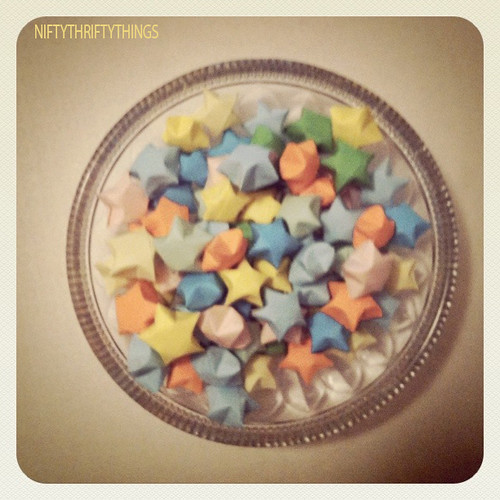
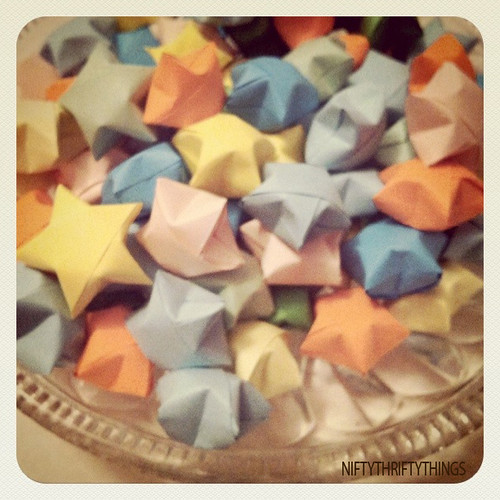
Sumarið er svo skammt undan :) 

Fann svo skemmtilegan gulan lit, 
hann er kominn í föt frá mér og hringi, eyrnalokka og hálsmenin :))


XOXO
Magga

Monday, March 28, 2011

Snilldar síða þið bökunaróðu !!!

Námsskeið !!!

Fyrir þá sem hafa áhuga þá verð ég með námskeið hjá Miðstöð Símenntunar á Suðurnesjum 9. og 12. maí og kenni þar að hekla skart :))


xoxo
Magga

Skemmtileg kvinder

Það er gaman að skoða fransk/íslenska bloggið hennar Hélene Magnusson, hér er linkurinn ef þið viljið ;)


xoxo
Magga

Lukku Stjörnur !!!!

{lucky stars}


I folded about 150 lucky stars last night. Be careful, it's very addictive!

I threw together a little tutorial, if you want to try it yourself.

What you need:
  • paper in A4 or letter size, in your preferred color
  • scissors or x-acto knife
  • ruler

{lucky star}

{lucky star}


{lucky star}


Cut the paper into strips. The width determines the size of the star. For the tutorial I used about 1/2 in. wide strips:
{lucky star}


Start by tying the strips into a knot:
{lucky star}


{lucky star}


You're on the right track if your knot looks like a pentagon:
{lucky star}


Fold the little tail over:
{lucky star}


Start folding the long tail around and around the pentagon:
{lucky star}


Until you reach the end of the strip:
{lucky star}


Tuck the end of the strip into the little pouch:
{lucky star}


You'll end up with this:
{lucky star}


To make this pentagon a star, push gently with your fingernail on each side:
{lucky star}
I even made a video tutorial to show the full process:

PS: It's easiest if you don't crease the sides of the pentagon too much when folding the strip.
 
xoxo
Magga

Saturday, March 26, 2011

Star Wars stráka koddi !!!


Star Wars koddi frá Natprat :)))
 
First Step: You find an image online that you want. Save it, and open it with your picture editing software, or even something like Microsoft Word Processor. You flip the image so it's a mirror image, and then you make it as big as you want. Mine was just "Star Wars" text.


Step 2: take a sheet of felt (mine was 49 cents at Walmart) and carefully tape it to the top of your screen. With a pen or marker, LIGHTLY trace the image onto the felt.


Step 3: Cut out the image with your scissors.


Step 4 (OPTIONAL): I wanted a more finished look to my design, so I just stitched the edges. You don't have to if you don't want to.


Step 5: Since it's felt and it will likely fray and get nasty, put some Fray Check along the edges. It will make the edges stiff and keep the shape better. Don't know what Fray Check is? You can find it at any sewing store or Walmart. It's very inexpensive and it awesome stuff.It looks like this:

Step 6: No sewing involved, so don't be scared! All you'll do is glue the pieces on with your hot glue gun! See? Easy peasy. Once you've got them in place, you can kind of lift up the corners and edges and make sure they're glued down tight.


And now you're all done!

Uglu púði !!!

Frekar auðveldur Uglupúði frá Natprat, sætt í stelpuherbergið !!!


Who wants a NO SEW tutorial for this ADORABLE owl plushy that ONLY takes about 45 minutes to make? Even better, it only costs about $3 per plushie. This would be PERFECT for Activity Day projects or Young Women activities!

*NOTE* You can handstitch everything if you don't want to use the glue gun! ;)

SUPPLIES:

6 sheets of felt
*2 sheets for body
*1 white for eyes
*1 for wings (any color you want)
*1 for belly (any color you want)
*one for the nose (I used orange)
Glue gun/gluesticks
Needle and Embroidery thread (any colors you want)
stuffing (not the kind you use in a Turkey...)
The Template (save it as an image, open in Word Processor/Works/Photoshop) and print
Scissors
2 buttons (or you can cut out 2 small circles of felt for the pupils)

OWL TEMPLATE (2 pages)
Each page is the size of an 8.5 x 11 piece of cardstock

Okay, now you're going to cut out the pieces. These will be your pattern for you to trace onto the felt. (see below)Now, decide what color you want the different parts of the owl. Trace the part of the owl you want on the color of felt you want it to be. For the body, you will need 2, one for the front, and one for the back.
Once you have all your pieces cut out, you'll lay it out like THIS (These are Whitney's owl pieces)

Now, if you want to you can just stitch the pieces individually. See the picture of the final product up at the top? I hand stitched the wings, belly, top of the head and some eyelashes on the eyes. You can do it however you want though! There are so many fun things you can do to make it your own!

After your pieces are stitched to your liking, you'll start to glue them onto the owl. Start gluing with the eyes. First, attach the buttons to the white circles. Then glue the white circles onto the "behind eyes" part. Then, the belly, and then the wings on top of that. Oh! And you can decorate the belly any way you want, too! I put a fabric rosette on mine. I learned how to make these at My Sparkle. She rocks. :)

Now that the front of your owl is done, you'll flip the owl over and attach the back. (Notice how the owls have switched colors? I got impatient and decided to make one for Kate's room since Whitney was taking so long! LOL)

Now, you'll glue the VERY OUTSIDE edge of the owl like so. Make sure to leave an open space about 3" at the bottom to insert the stuffing.

Now, flip it over, take your stuffing and stuff that bird! You can stuff it as much as you like. Make sure to poke stuffing up into the ears.

When you're done stuffing, carefully glue the bottom edge closed.

Now for the hardest part. Just kidding. You're done! :)


Thursday, March 24, 2011

Hús oná borð :Þ

Leikhús undir borðinu  !!!!!

ofureinfalt í framkvæmd.. bara klippa efnið eftir stærð borðflatarins og mæla svo hliðarnar og hvaða sídd við viljum hafa...... og svo bara hafa þetta einfalt, klippa bara uppí efnið þar sem hurð á að vera og klippa fyrir gluggum ;))

Veit að Ikea er með alveg ævintýralega flott efni og gaman að gera eitthvað úr efni frá þeim, svo bara að gera kodda og teppi í stíl til að hafa inni, sannkölluð ævintýraveröld :)

TablePlayhouse15


TablePlayhouse10

TablePlayhouse09

TablePlayhouse11

TablePlayhouse04

TablePlayhouse02

TablePlayhouse01
TablePlayhouse13
xoxo
Magga

Monday, March 21, 2011

Púffí púffí, fæ ekki nóg .....


Byrjum á því að búa til alveg næstum hundrað svona blóm, eða eins mörg að þarf :)


Svona gerirðu hvert blóm

1. Cut fabric into 3 inch squares, rounding the corners of the squares. (The fabric I chose was a sheer polyester, similar to curtain material.)  The squares don’t have to be cut perfect since they will be “scrunched” up.
2. Take one square of fabric, pinch and gather in the center. Sew a couple stitches at the bottom to hold the folds in place.
3. Add another square of fabric to the bottom and gather around the first piece of fabric, stitch together.
4. Add a third piece of fabric and secure all the layers with a few stitches, tie off with a knot.
5.  Repeat steps 2-4 a gazillion times until you have enough flowers to cover your surface area:
6. (optional) After making a gazillion flowers, realize that you still don’t enough to cover a full heart.  Make a gazillion more.
7. (optional) Pout, sulk and stomp around the house because you realize that after making another gazillion more ruffles you have run out of pink fabric and you still have a bald spot in the middle of your heart. Curse.
8. (optional) Shove project under the bed and pretend it doesn’t exist.  Redirect frustration and pick fight with innocent husband.
9. (optional) Decide will not let this project get the best of you, recover project from under the bed, cut up pink scarf made from the same pink fabric and continue making a gazillion more ruffles.
10. Stitch ruffles in place by hand on pillow top. Sew pillow cover together. 14 hours later, you are done!! Ta-da!

Ofga girnileg uppskrift af fersku salsa ........


Uppskriftin hennar Ilene
Ingredients
3 diced ripe tomatoes
half a red onion- diced
1/4 cup of corn (use fresh corn if in season)
1/4 cup of chopped cilantro
juice of half a lime
1 jalapeno pepper seeded and finely chopped
2 cloves of garlic
salt and pepper to taste
Mix all together in a bowl and serve with chips.  And eat for breakfast, lunch, dinner and American Idol commercial breaks. Sí!

xoxo
Maggs

Pom pom æðið rúlar :))))

Pom poms úr gömlum bolum !!!! jeijjjjj

how-to-make-pom-poms
 got an old tee or two {or 20!} that you don't wear anymore? turn them into *pretty little pom poms!* they're fun and easy to make and turn out oh-so-fluffy!
 
Supplies
  • t-shirts, 1 per pom pom
  • scissors
  • cardboard
use round objects to trace circles onto cardboard to make 2 templates like those shown above. i used a roll of tape and my camera lens cap.... the diameter of the outer circle is 6.5" and the diameter of the inner circle is 2.5".  you can play around with different template sizes to get different sized pom poms.
cut your t-shirt into 1/2" strips. i only used from the arm pits down on each shirt. .
take one strip and one template and place strips as shown close to the inner circle.
sandwich the strip by putting the other template on top.
 take a fabric strip and place on cardboard with the end even with the outer edge.
wind around the template as shown. pull the strip tightly so that it stretches the material. when you get to the end of the strip....
 take another strip and place the edge even with the outer circle like you did at the beginning. when you wind it around the first time, be sure to overlap the end of the previous strip so that it is held in place.
 continue winding the strips around the template until you reach the other side.
do 2 more layers of strips {so that you have 3 total layers}
 now take the sandwiched strip and pull tight and wrap around each other once. this will help hold things in place for the next step. 
Warning: this next step is messy. trust me.
 with one hand holding the strips in place, use scissors to cut the fabric strips along the template. i recommend sharp scissors, and preferably pointy ones. unlike mine.
 after all the strips are cut, pull the string tight and tie into a knot. remove templates.
 should look something like this.
now give your crazy ball a good hair cut! i cut two 4.5" diameter circles out, then sandwiched the ball and cut around to make a nice round pom pom. remove circles, fluff and trim as needed.
 
fengið af síðunni craftaholics anonymous

xoxo
Magga